Multispectral High-definition Line-scan Camera Real-time Detection System
Schematic of the Principle
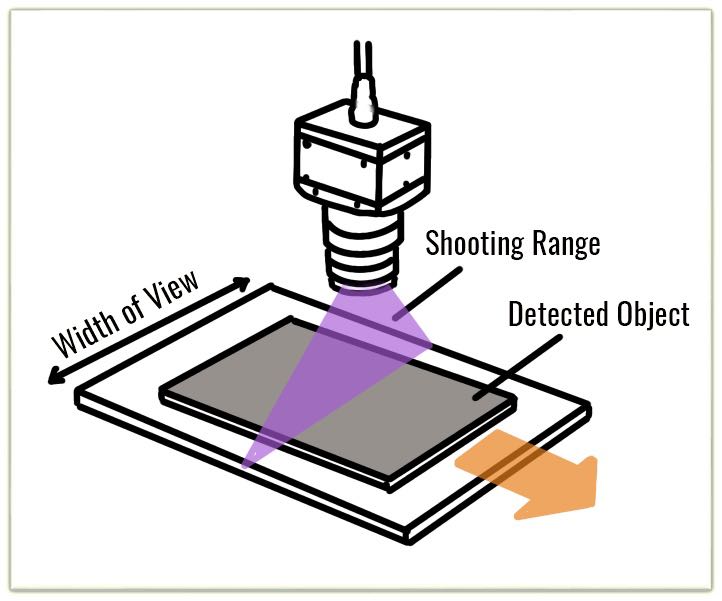
Our line-scan camera is equipped with a line scan image sensor capable of achieving high resolution, a large field of view, and high-speed detection of ultra-high-level pixels. This technology is particularly effective in the inspection of continuous materials, such as metals, plastic, paper, and fibers.
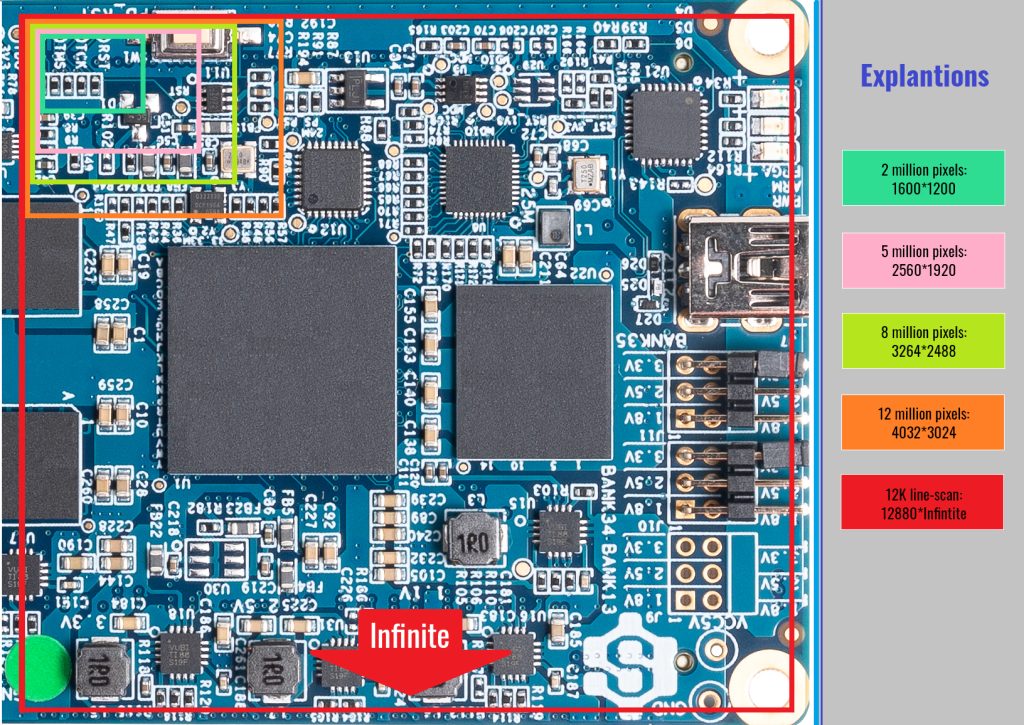
For example, a 12 K line-scan camera, with a line pixel count of 12,288 pixels, can achieve a maximum acquisition speed of 8 kHz. This allows the camera to produce an image measuring 12,288 x 8,000 pixels in just one second, compared to a 5M camera that offers a resolution of 2592 x 1944 pixels.
Horizontal Shooting Schematic Diagram
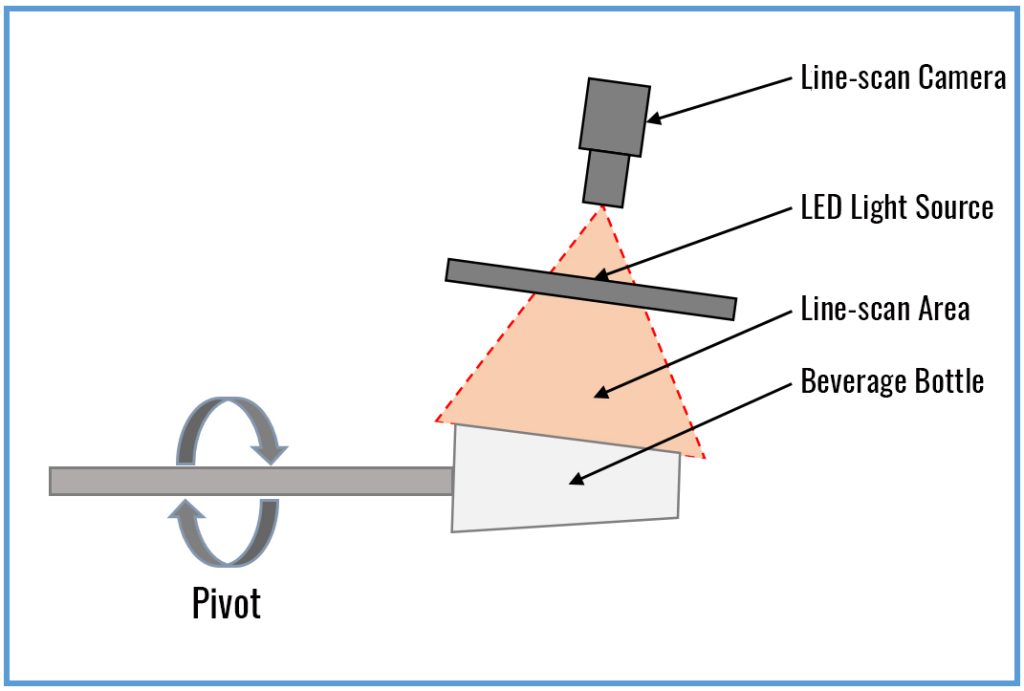
Rotate Shooting Schematic Diagram
System Features
- Enhanced field of view for image acquisition
Our black-and-white line-scan camera employs advanced scanning imaging technology and can simultaneously meet the requirements of high resolution and large field of view in image acquisition. This system achieves spatial resolution that is four times higher at a lower cost compared to similar color cameras.
Larger Field of View for Image Acqusition
- Consistent lighting for surface detection
Our system employs a linear scanning method to inspect products, enabling the adaptive detection of various curved surfaces. This approach offers a distinct advantage over conventional area-array scan cameras, which require additional image correction algorithms. Such algorithms not only escalate computational cost but also tend to introduce greater deviations in the output.
surface detection
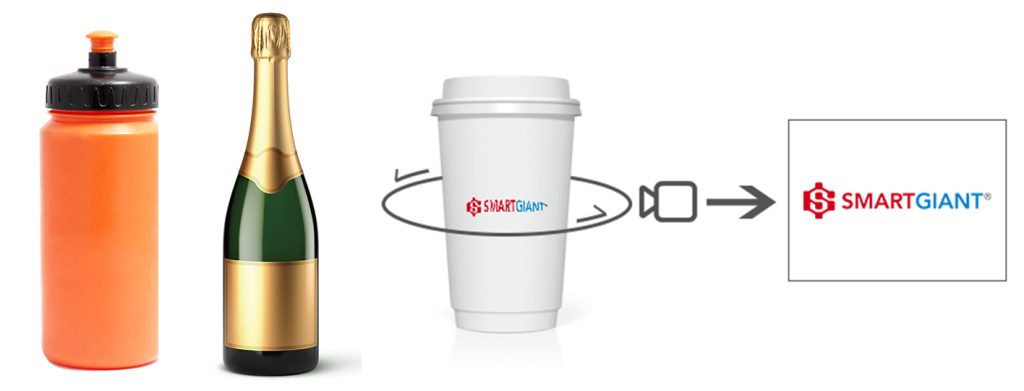
The system can perform defect detection for cylindrical, basiconical, and regular surfaces, such those of Bluetooth speakers, lateral surfaces of beverage cups, mobile phone, and scratches on screens.
- Advanced defect detection by multi-spectral technology
Our black-and-white line-scan cameras utilize multi-spectral synthesis technology to obtain high-fidelity color images. This technology enhances detection of color-related defects. The cameras can also operate at special wavelengths that detect defects invisible to the human eye, such as fingerprints, oil stains, and water stains.
Basic Trichromatic Imaging
Special Spectral Imaging Beyond Visible Light
Applications in Different Industries
1.Beverage cups: rapid detection of appearance defects (e.g., printing quality, color accuracy, etc.)
Beverage Cup
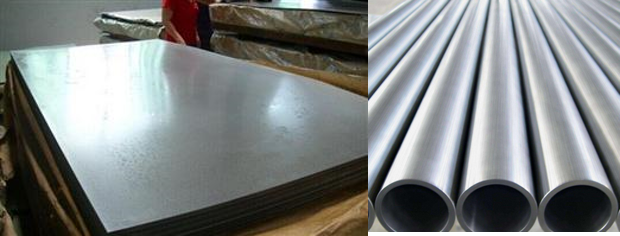
2. Rolled steel plates: comprehensive inspections of rolled steel plates for flatness and identifying any dents on the surface; detection of defects in the production process, such as bending or fracture in steel pipes.
Rolled Steel Plates
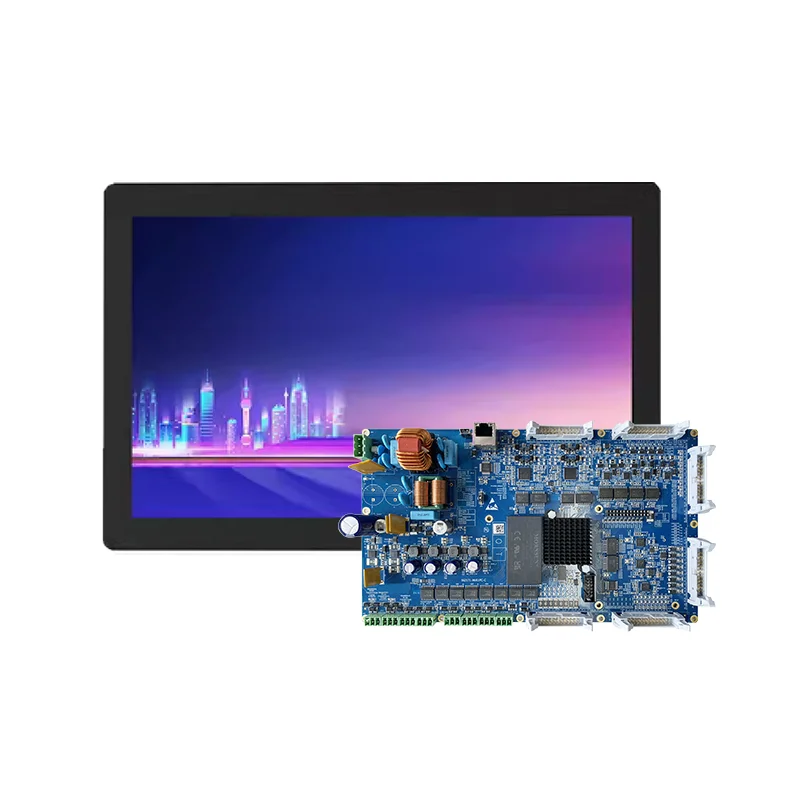
3. Printed Circuit Boards (PCB):comprehensive inspection of PCB by comparing each board against a standard template, enabling detection of various issues and defects of the PCB.
PCB
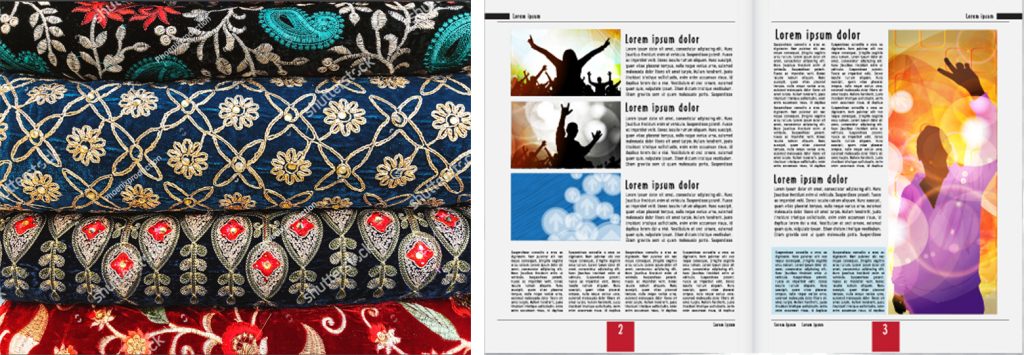
4. Printed products: detection of a variety of defects in printed materials, such as incorrect patterns, embroidery of oversized fabrics, erroneous words in books, poorly printed test papers, errors in newspapers, etc.
Printed Products
Application Scenarios
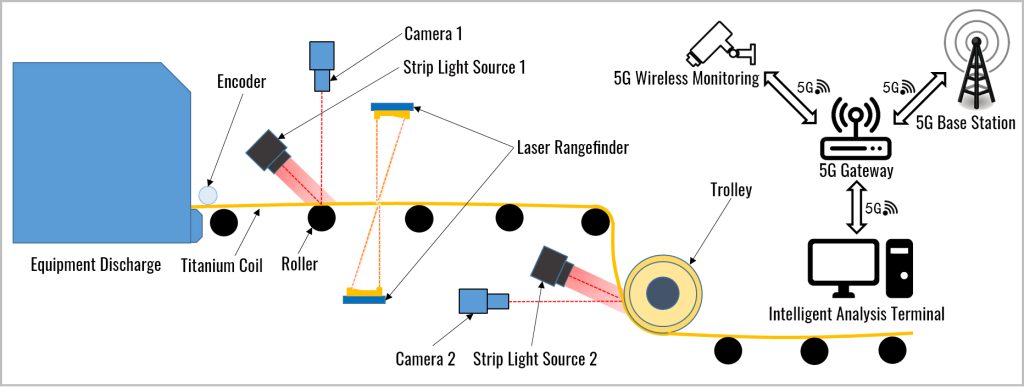
Assembly Line Installation Diagram of Titanium Coil Surface Defect Detection
Notes:
- Dual camera detection: Line-scan camera 1 and line-scan camera 2 inspect the upper and lower surfaces of the titanium coil, respectively.
- Stabilization and measurement: An encoder is utilized to stabilize camera operation during imaging; a laser rangefinder accurately measures the thickness of the titanium coil.
- Data processing and monitoring: All captured data are processed at an intelligent analysis terminal, with real-time monitoring enabled by the network.
Optical Parameters Across Varying Working Distances
Serial Number | Working Distance (mm) | Horizontal Width of Field of View (mm) | Horizontal Magnification (β) | Optical Resolution (µm) |
1 | 200 | 245.76 | 0.175 | 40 |
2 | 250 | 307.20 | 0.140 | 50 |
3 | 300 | 368.64 | 0.117 | 60 |
4 | 350 | 430.08 | 0.100 | 70 |
5 | 400 | 491.52 | 0.088 | 80 |
6 | 450 | 552.96 | 0.078 | 90 |
7 | 500 | 614.40 | 0.070 | 100 |
PrevAOI (Automated Optical Inspection)
- Product functional testing FCT
- High-speed bus test solution
- RF front-end test solution
- Software testing solution/FPGA acceleration solution
- PCBA modular universal fixture
- 3C MMI automated testing
- Photovoltaic module aging test
- AI vision industrial application solution
- AI Vision Business Application Solution
Contact Us
Smartgiant Technology 1800 Wyatt Dr, Unit 3, Santa Clara, CA 95054.
Email: info@smartgiant.com

Contact Us
Smartgiant Technology 1800 Wyatt Dr, Unit 3, Santa Clara, CA 95054.
Email: info@smartgiant.com
